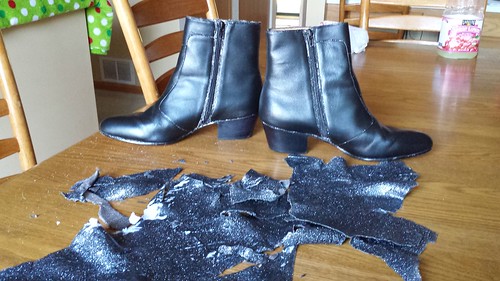
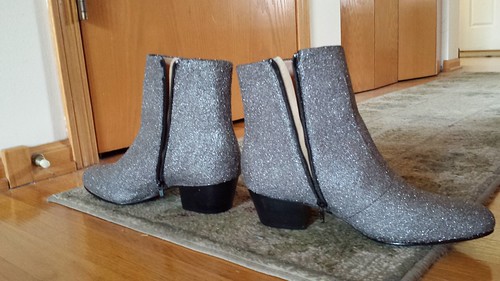
I've been busy day and night finishing everything for Dragon*Con, and won't be posting that often...most of it will come after Dragon*Con. I will share my YSL boot conversion though!
NOTE: On glitter. I used glass glitter, which from my research is higher end in the glitter world, and lasts longer than plastic. Additionally, black glitter often called "onyx" has a very slight purple tint that I didn't want to deal with. I have a found a suitable black called "midnight" which contains a little silver to be shiny. The thing is, you really can't mix glitter colors...they aren't like watercolors. The finish of mixing hematite (what I used) and this midnight would result in a weird salt and pepper finish. I wanted a consistent finish throughout. I will be the first one to tell you I am not 100% satisfied with the color, but seeing it is pretty darn to graphite in color, I am happy with it. In the glitter world of colors, there is black: Midnight and onyx, Hematite, and then many different silvers. All of the silvers are too light in luster to compare to the dark graphite finish of Daft's. Hematite is the only go between, albeit it is lighter in color. Now if you want to take a chunk of graphite and make it glitter, go for it. This works for me until I, or someone else finds something better. The search continues...
There were a few techniques I learned, this being my baptism with mod podge (super elmer's glue) and glitter.
My first take was using a sponge applicator and putting on generous amounts of glue as a base coat. Then, dump generous amounts of glitter on, tap, and let it sit (to dry...wait 15-20 minutes). I wasn't patient, so I just kept adding. It gave a pretty smooth finish throughout. However, globbing on too much glitter and glue at once...well gravity did it's work. on the heel it would sad. Now it wasn't blatantly obvious, but for a perfectionist like me...well it still bugs me.
The second shoe I went more conservatively. I mixed the glitter and mod podge together and painted it on using a paint brush. This was much slower, and left a bump'ier finish. When doing this, keep in mind the ratio you add glue to glitter. I liked having a thicker glitter glue mix, opposed to a lighter one. I say that because I eventually just added glue dumped glitter on because it worked before. I used the brush on approach to fill gaps, to which to that end, it worked.
Remember however, this stuff does dry clear, but put a big ol' glob on, it will take a much longer time to dry clearly. Sometimes, it would dry to be a opaque finish...not what we're looking for in our case. To fix that, I just brushed more on. Respect the cure time! It does get tacky, SO DON'T TOUCH IT! You will pull glitter off, and glue leaving a weird hole. We don't want that.
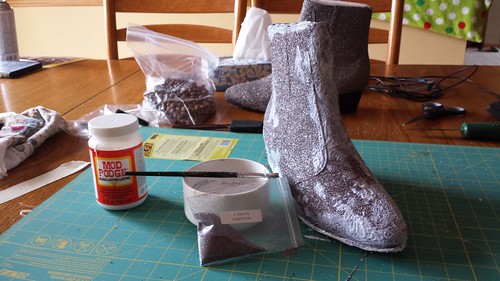
To do this, you need these:
- Giorgio Brutini Men's boots
-4oz of Hematite Glitter
-Paint Brush
-Mod Podge (Glossy)
-Newspaper, or work mat
-Sponge applicator (dollar tree/Walmart)
-Masking tape (for taping off heel, and sole)
-X-Acto knife (for cutting along the soles and masking tape to break the glue seal that covers the medium.)
-Disposable cups, plates, spoon (if you want a little bit of control putting the glitter on.)
Also, have patience.
Step 1: Mask off shoes
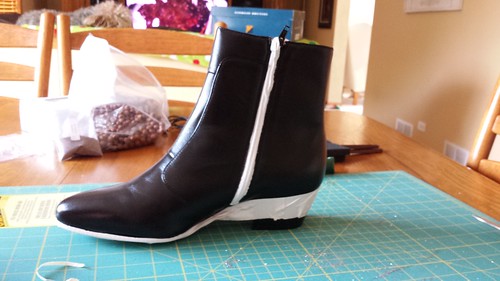
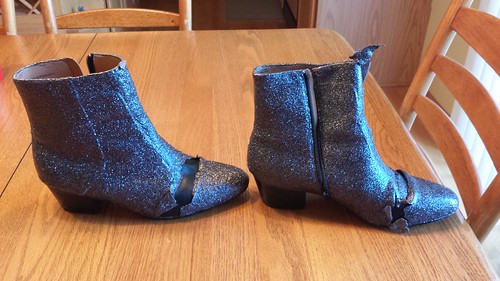
DP YSL Boot Conversion by TK9336, on Flickr
Step 2: Add glue and glitter (in this picture I went really lightly. Now these can work with a bunch of light coats...however medium coats work just as well. I was trying to get a feel for it.) REMEMBER: you can use the glitter that falls over, just use a cup to reuse.
DP YSL Boot Conversion by TK9336, on Flickr
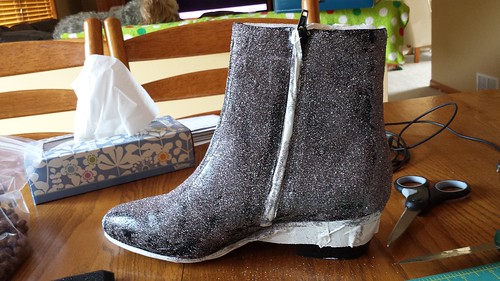
Step 3: Rinse and repeat Step 2 until the shoes are covered completely. ALLOW CURE TIME: 15-20 between coats (med-light).
Step 4: Fill in the gaps you may have missed, or couldn't resist the temptation to touch them.
DP YSL Boot Conversion by TK9336, on Flickr
Step 5: ALLOW FOR CURING. See anything you missed? Fill it, and let it dry.
Step 6: Optional; cover the entire shoe in mod podge. Mod Podge is unique in that it is a glue, and sealer. Of the tutorials I've seen, people do this to keep all the glitter on. Which it does well, but it will knock down the shine. If I had the choice, I would skip doing it again.
Step 7: Spray with a clear acrylic sealer (GLOSS). It will take down the shine much less than the covering the shoes with a thin coat of mod podge. I used one thin coat of Mod Podge, and two light coats of sealer.
Step 8: LET IT DRY! Overnight would be best.
Step 9: Using your xacto knife, go around the base of the sole, and zipper. There will be a film of the glue (which now is dry, and clear.) If you peel off your masking tape without cutting it, it will peel and stretch off the leather. You cut to prevent that and then push in the recess where the leather meets the shoe. It will leave a clean appearance.
DP YSL Boot Conversion by TK9336, on Flickr
Mine aren't perfect. But they are wearable and get the point across they are part of the RAM costume. Mine globbed in a few areas, which resulted in this project taking all day, instead of 4 hours. I was learning on the fly. Remember, it's all fixable...but doing right the first time will save you time. That said: HAVE PATIENCE. I got over excited. Take your time...it's worth it. Now when I do my buddy's shoes, they will be very neat, and smooth as opposed to mine. I hope this was helpful! I just wish I could find that perfect color of glitter...if you find it, lemme know!

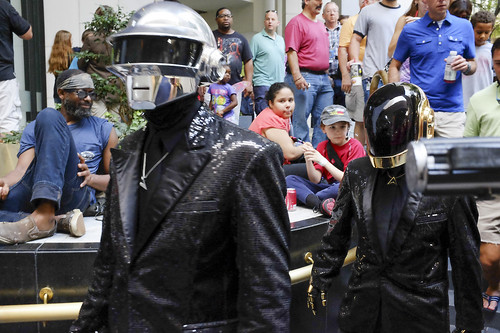
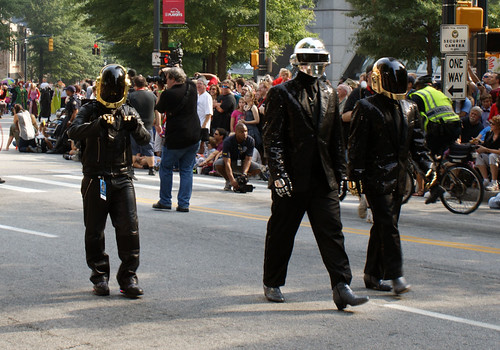
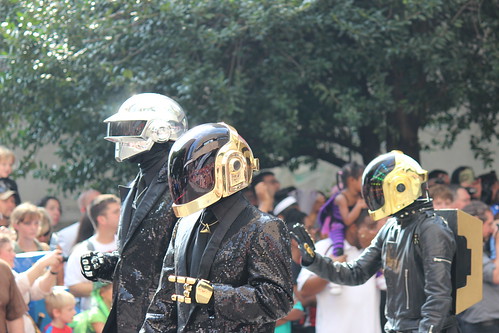
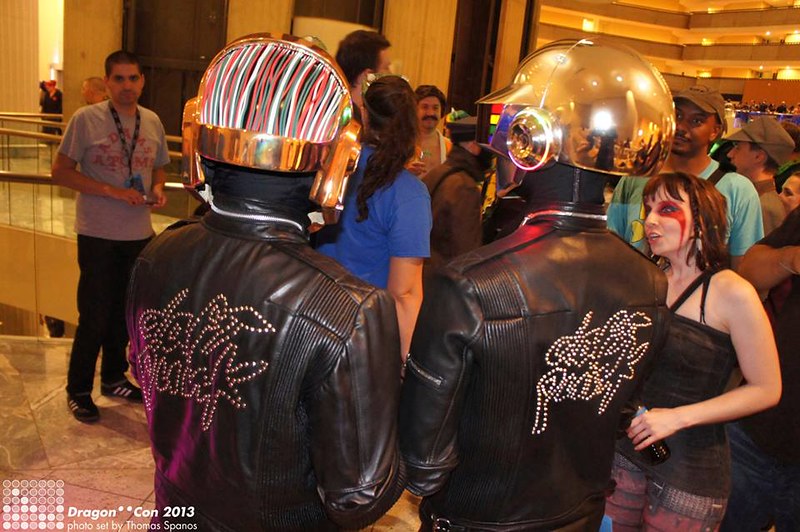
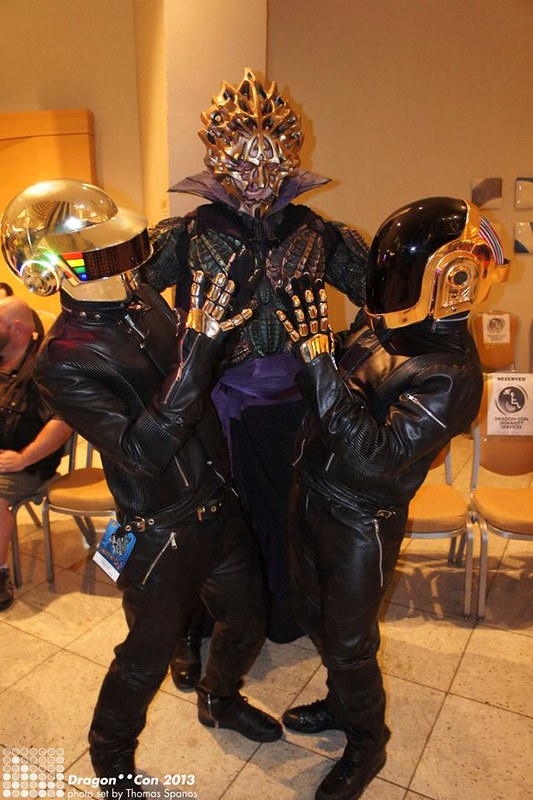
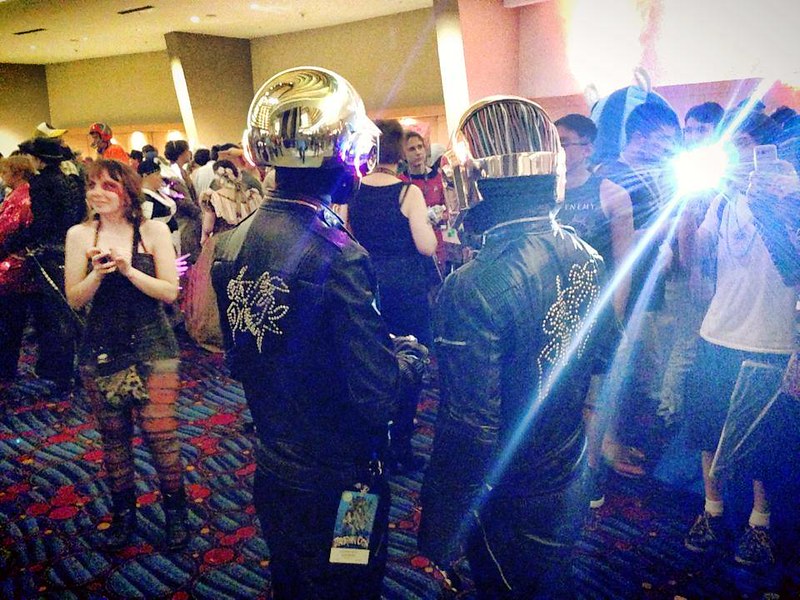
Daft Punk - Random Access Memories by TK9336, on Flickr

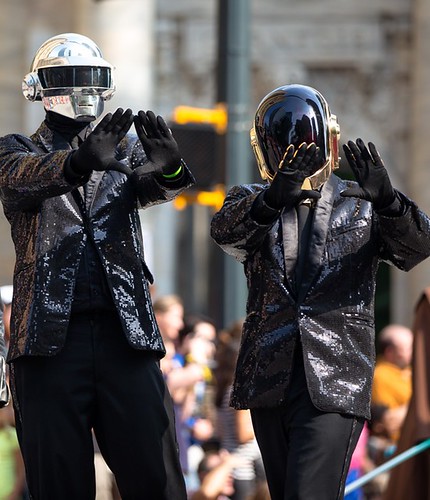
Daft Punk - Random Access Memories by TK9336, on Flickr

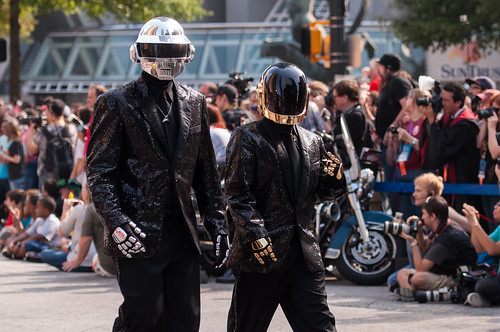
Daft Punk - Random Access Memories by TK9336, on Flickr
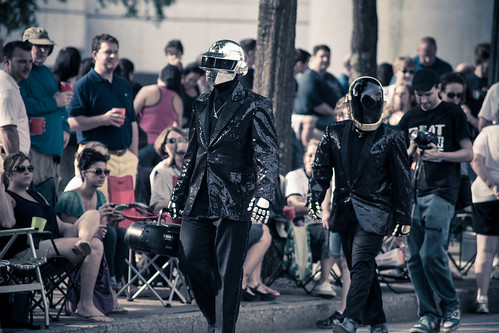
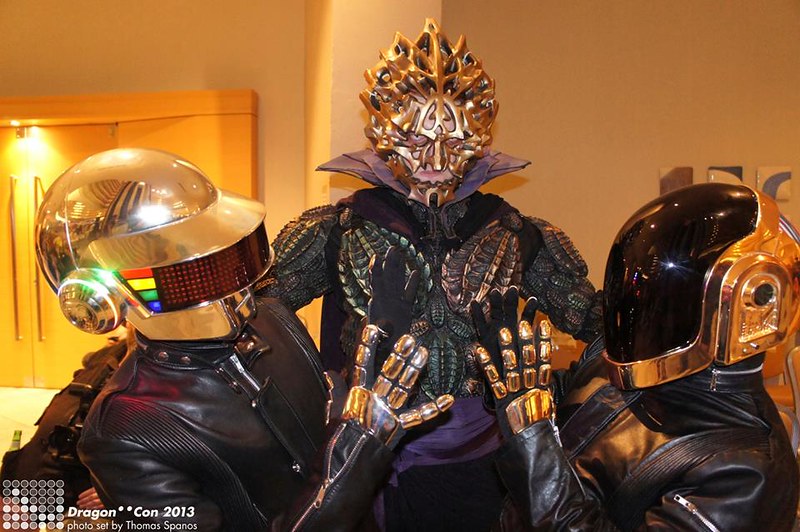
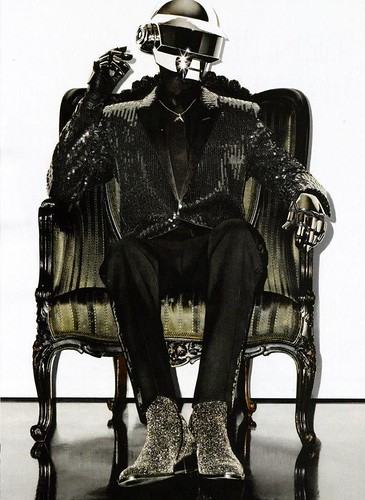
Now while the prior pictures show a dark, grey, almost black glitter finish, this picture throws me through a hoop. We have to remember, on the professional magazine shoots, there will be post editing. Pick your battles my Daft friends...
Daft Punk - Random Access Memories by TK9336, on Flickr
In the search of alternative glitter: here is what I have found...and would love to get samples to show the differences, and even re-do my shoes. Anyways, I would love to see your attempts!
1: #610 Onyx (sticking with the glass glitter)
Fine Glass http://www.artglitter.com/retail/glitte ... ggfine.htm
2: #188 Black Vinyl Pearlescent Ultrafine http://www.artglitter.com/retail/glitte ... fpearl.htm
3. #700 Exotica Microfine Transparent http://www.artglitter.com/retail/glitterpages/rmft.htm
<Drumroll please>
...
#511 Graphite Microfine Opaque http://www.artglitter.com/retail/glitterpages/rmfo.htm (If I had the choice to do this AGAIN, I'd use this is in a heartbeat. Hint, hint, wink, wink, somebody please try this! I might get this just for sharts and giggles.) Color wise, it is very close to hematite, but for comparison purposes, I would love to see it done.