
The Master Chief (dial up beware, pic intensive)
Moderator: Garrison Officers
-
tk1055
- Rebel Legion Member
- Posts: 477
- 4poziom.waw.pl
- Joined: Wed Feb 22, 2006 2:56 am
- 501st Legion ID: 1055
- Location: I Don't know all I see is corn! :-(
-
Targ
- Inactive Member

- Posts: 3001
- Joined: Mon May 26, 2003 5:24 pm
- 501st Legion ID: 3853
- Location: Forrest, Illinois
- Contact:
Ta DAH
I'll send the sections I had cut for the boxes first and if you need much longer pieces we'll have to get together and hand them off. No fanfares please.

Served the Empire as Jolly Roger Squadron Detachment Leader 2005-2013
Now serves as Mentor, and Shadow Commander.
-
Darth Favre
- 501st Member

- Posts: 1341
- Joined: Thu Feb 17, 2005 9:30 pm
- 501st Legion ID: 1900
- Location: Flight Level 410
Oh yea. A frequent visitor and infrequent poster there. Lots of great info. One thing that blows me away though is the lack of a standard color. I found one guy with an actual color he used and I bought that. It looks pretty close. We'll see.tk1055 wrote:Very Nice! I have been plotting this myself. if you need any help check out this place http://405th.com/forums/index.php?act=idx.
Yea I want Cheesy Poofs!!
Gregg Bywater
SL/TC 1900

Gregg Bywater
SL/TC 1900


-
Darth Favre
- 501st Member
- Posts: 1341
- Joined: Thu Feb 17, 2005 9:30 pm
- 501st Legion ID: 1900
- Location: Flight Level 410


-
Darth Favre
- 501st Member
- Posts: 1341
- Joined: Thu Feb 17, 2005 9:30 pm
- 501st Legion ID: 1900
- Location: Flight Level 410
Oh yea.
I just painted one of my toes. I grabbed that "hammered" metal paint. Should go great with the "hammered" pilot costume as well.
Actually it looks pretty cool. Now I just have to do the light grey, and then the green. Maybe tomorrow I'll get some time to do it.
I just painted one of my toes. I grabbed that "hammered" metal paint. Should go great with the "hammered" pilot costume as well.
Actually it looks pretty cool. Now I just have to do the light grey, and then the green. Maybe tomorrow I'll get some time to do it.
Yea I want Cheesy Poofs!!
Gregg Bywater
SL/TC 1900
Gregg Bywater
SL/TC 1900
-
Darth Favre
- 501st Member
- Posts: 1341
- Joined: Thu Feb 17, 2005 9:30 pm
- 501st Legion ID: 1900
- Location: Flight Level 410
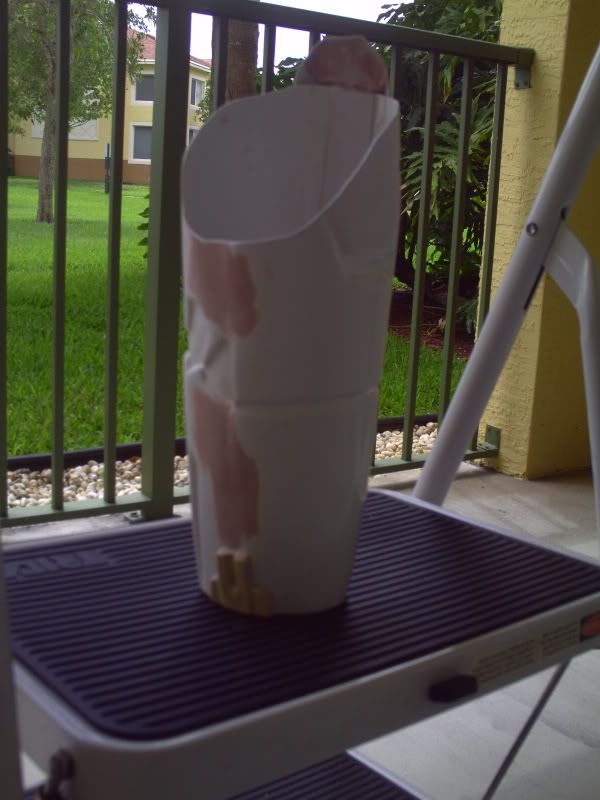
Well I finished painting the lower parts of the boots. I have up the upper parts, shins and calves primed and about ready as well. I just have to dry brush and add the last few weathering details and figure out exactly how I'm going to attach the pieces to the boot and each other.

Yea I want Cheesy Poofs!!
Gregg Bywater
SL/TC 1900
Gregg Bywater
SL/TC 1900
-
Darth Favre
- 501st Member
- Posts: 1341
- Joined: Thu Feb 17, 2005 9:30 pm
- 501st Legion ID: 1900
- Location: Flight Level 410
Update time.
Well, I was able to work pretty much all day on this project to day. I got the left thigh together somehow, and I attached all the boot pieces together and to the boot. I will post pics tomorrow after I recover from my hangover I am about to go out and start working on. Happy St Patty's Day!!
Well, I was able to work pretty much all day on this project to day. I got the left thigh together somehow, and I attached all the boot pieces together and to the boot. I will post pics tomorrow after I recover from my hangover I am about to go out and start working on. Happy St Patty's Day!!
Yea I want Cheesy Poofs!!
Gregg Bywater
SL/TC 1900
Gregg Bywater
SL/TC 1900
-
Darth Favre
- 501st Member
- Posts: 1341
- Joined: Thu Feb 17, 2005 9:30 pm
- 501st Legion ID: 1900
- Location: Flight Level 410
Ok here we go with more progress pics. Here I have attached snaps to the boot sole with screws, and then snaps to the toe and heel pieces with CA glue.
To attach the top of the boot plate to the heel, I used a strip of elastic so as I walk, there won't be a chance of ripping it off the heel piece.
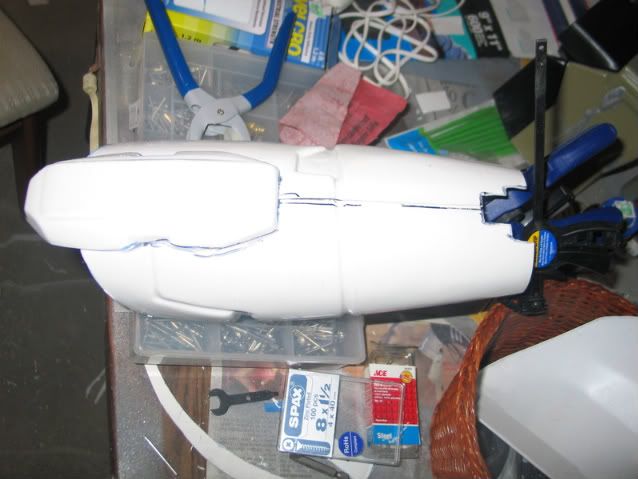
I have one thigh put together, and the second is two-thirds along.
I am working on one of the forearms here as well, got one side together, and have glued the strips to the underside of one piece, and am ready to put it together. Then add a couple detail parts and bondo for a seamless look.
To attach the top of the boot plate to the heel, I used a strip of elastic so as I walk, there won't be a chance of ripping it off the heel piece.
I have one thigh put together, and the second is two-thirds along.
I am working on one of the forearms here as well, got one side together, and have glued the strips to the underside of one piece, and am ready to put it together. Then add a couple detail parts and bondo for a seamless look.
Yea I want Cheesy Poofs!!
Gregg Bywater
SL/TC 1900
Gregg Bywater
SL/TC 1900

-
Darth Favre
- 501st Member
- Posts: 1341
- Joined: Thu Feb 17, 2005 9:30 pm
- 501st Legion ID: 1900
- Location: Flight Level 410
Thanks. Actually at the armor party, it was Jerry, myself, and someone else who were talking about ways to attach these pieces, and we came up with it just brainstorming.
Well now more progress pics.
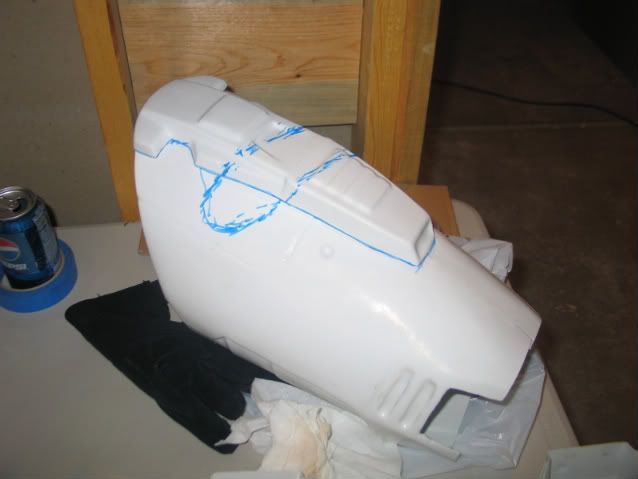
I attached the detail piece to the outside of the thigh. You can see where I marked it up. I was going to fill that area of the detail with bondo, then take a dremel and cut it up to make it look like it took a laser hit, but decided I could do that later on the next version, if there is one.
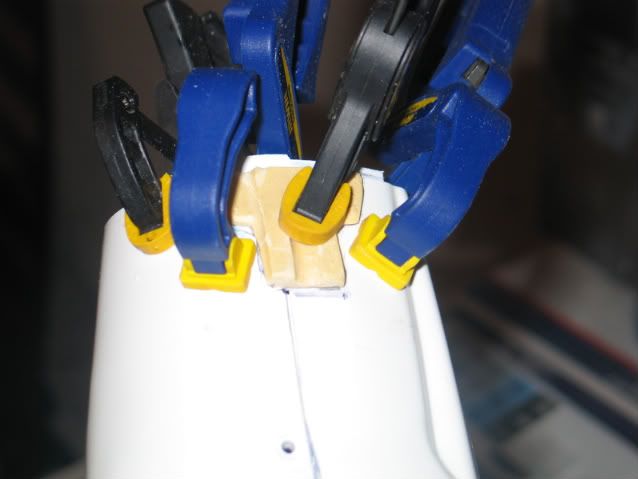
Then I attached the detail piece to the forearm for the elbow plate, and cut out the little "T" shape area for another resin detail piece that fits by the hand. After cutting out the shape, I glued in a strip of plastic around the inside so I can glue the detail piece to that. That gives me a relatively flatter surface to work with, and then I will bondo around it for no seams. I also had to sand the underside of the detail piece down so it fit flatter to the curvature of the wrist.
Here is the detail piece clamped in and drying.
More to come, stick around.
Well now more progress pics.
I attached the detail piece to the outside of the thigh. You can see where I marked it up. I was going to fill that area of the detail with bondo, then take a dremel and cut it up to make it look like it took a laser hit, but decided I could do that later on the next version, if there is one.
Then I attached the detail piece to the forearm for the elbow plate, and cut out the little "T" shape area for another resin detail piece that fits by the hand. After cutting out the shape, I glued in a strip of plastic around the inside so I can glue the detail piece to that. That gives me a relatively flatter surface to work with, and then I will bondo around it for no seams. I also had to sand the underside of the detail piece down so it fit flatter to the curvature of the wrist.
Here is the detail piece clamped in and drying.
More to come, stick around.
Yea I want Cheesy Poofs!!
Gregg Bywater
SL/TC 1900
Gregg Bywater
SL/TC 1900
-
Darth Favre
- 501st Member
- Posts: 1341
- Joined: Thu Feb 17, 2005 9:30 pm
- 501st Legion ID: 1900
- Location: Flight Level 410
Wow its been a year since I updated this thread. FAR too long. While I have had an extremely busy year, I decided it was way past time to start working on this again. So I am starting slow, and finishing off a couple pieces I started earlier. I need to get some new shoulder bells as the ones I have were cut too short, but I'll work on that later. For now here's what I have done.
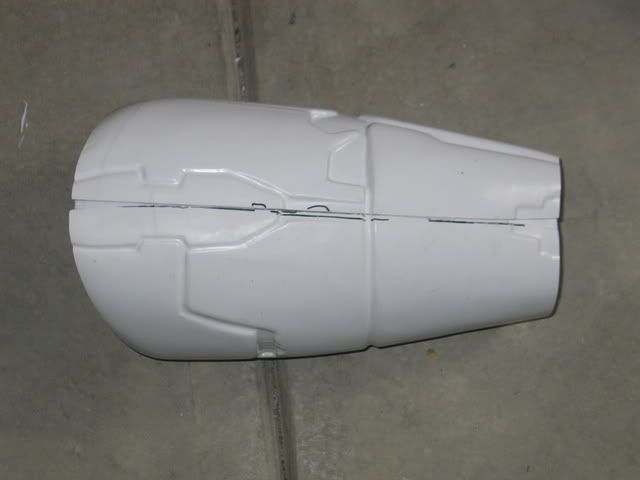
Boot was weathered
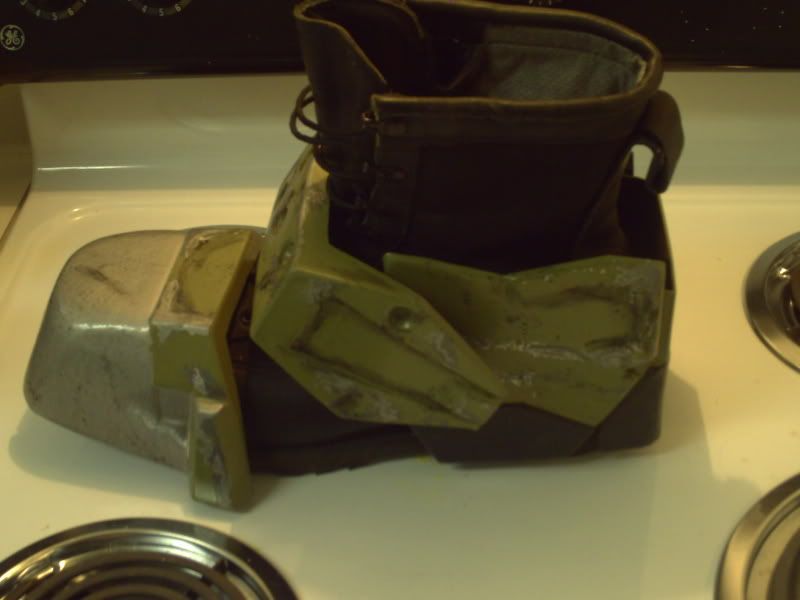
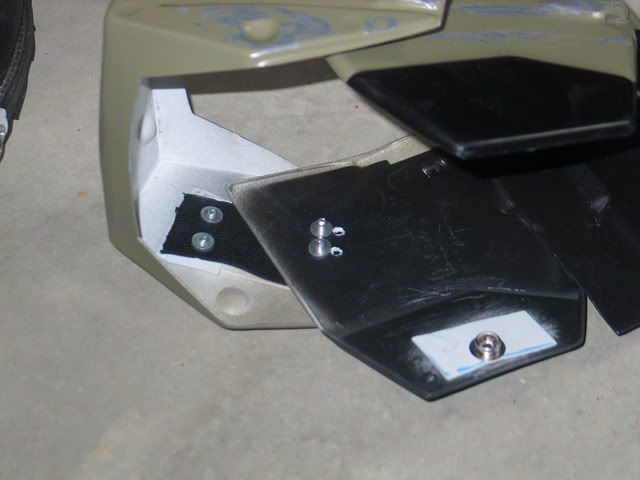
Painted and weathered the handguards
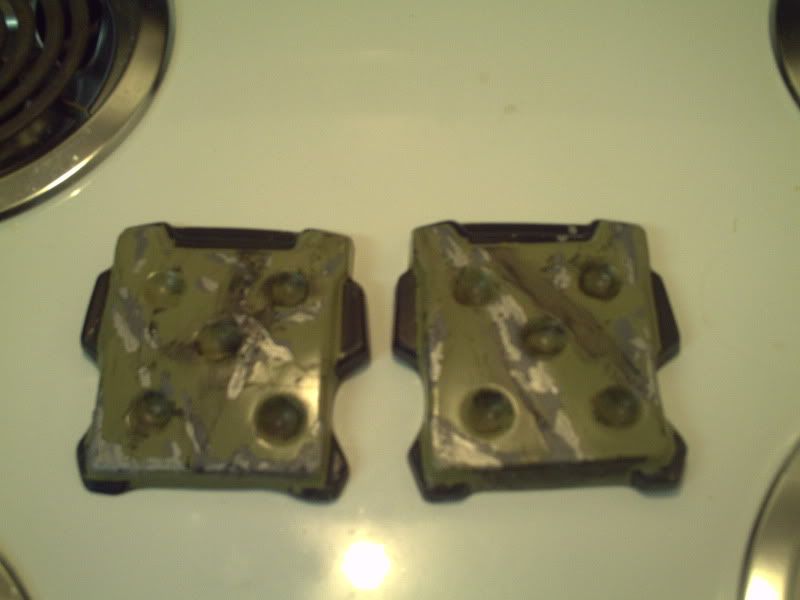
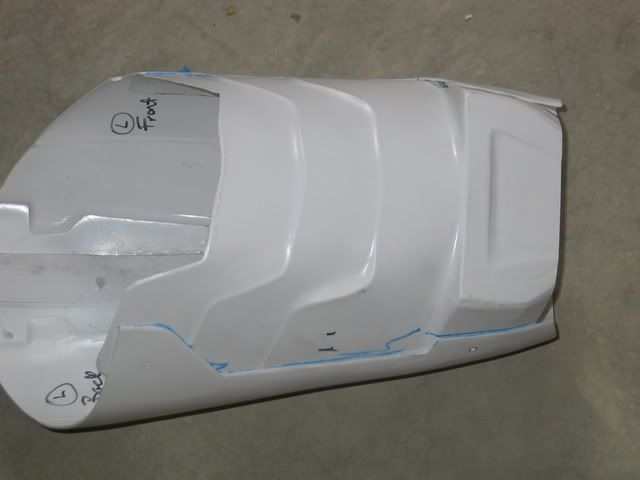
The ab and back plate first coat of paint
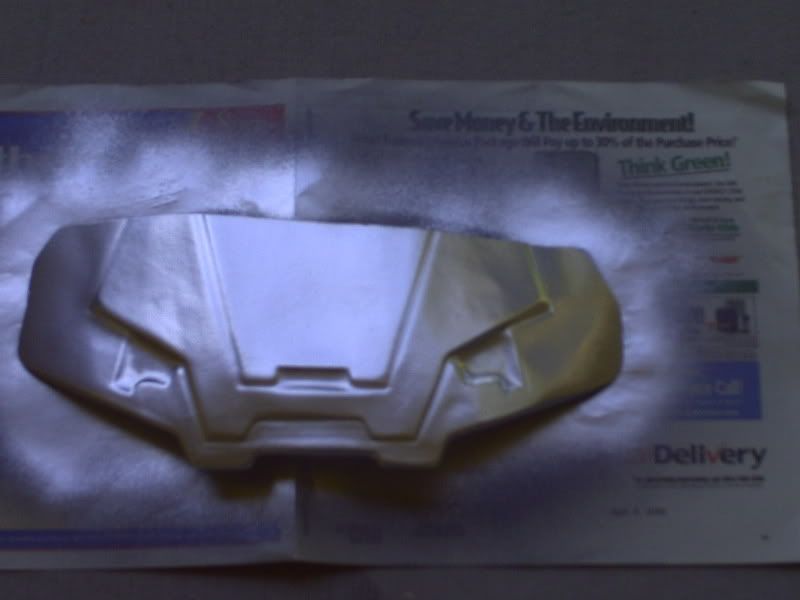
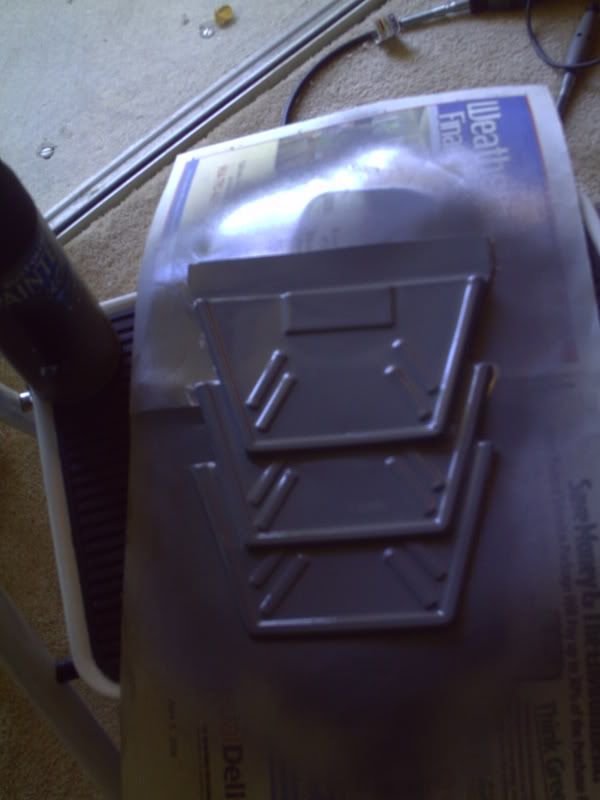
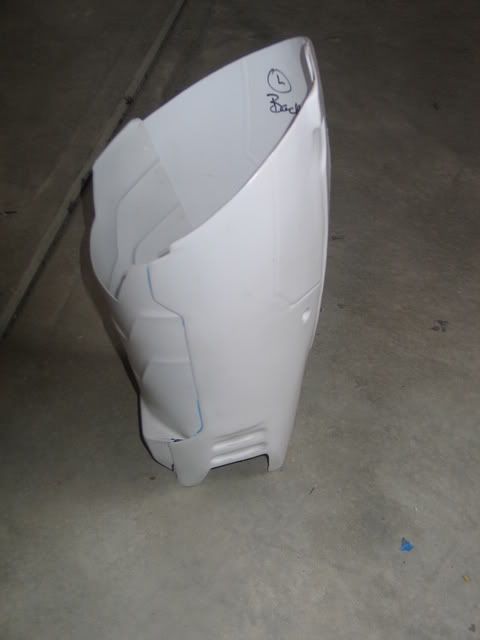
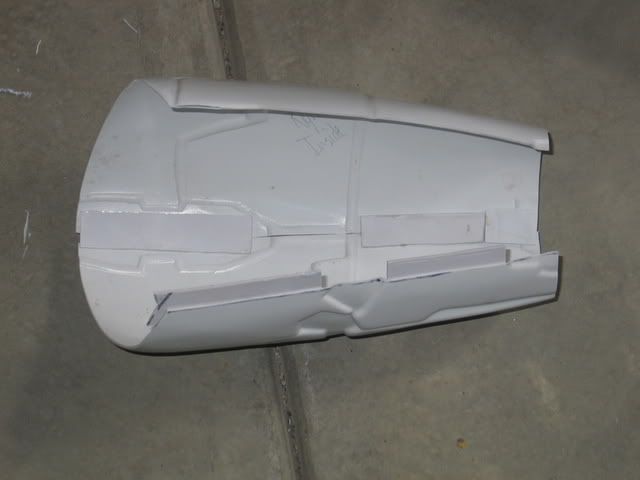
and while I don't have a pic of it painted yet, here is the forearm all prepped and ready for paint.

Hopefully I'll have more to come soon!
Boot was weathered
Painted and weathered the handguards
The ab and back plate first coat of paint
and while I don't have a pic of it painted yet, here is the forearm all prepped and ready for paint.
Hopefully I'll have more to come soon!
Yea I want Cheesy Poofs!!
Gregg Bywater
SL/TC 1900
Gregg Bywater
SL/TC 1900
-
Darth Favre
- 501st Member
- Posts: 1341
- Joined: Thu Feb 17, 2005 9:30 pm
- 501st Legion ID: 1900
- Location: Flight Level 410


-
Darth Favre
- 501st Member
- Posts: 1341
- Joined: Thu Feb 17, 2005 9:30 pm
- 501st Legion ID: 1900
- Location: Flight Level 410